Video tutorial (click preview to play)
Step-by-step instructions
Follow these steps to access and use SignIT from within your case management software.
Step 1: Log in to your account and open the relevant matter.
Follow these steps to access and use SignIT from within your case management software.
Step 1: Log in to your InfoTrack account and open the relevant matter.
Step 2: Navigate to the InfoTrack Home screen and select SignIT from the National Services widget.

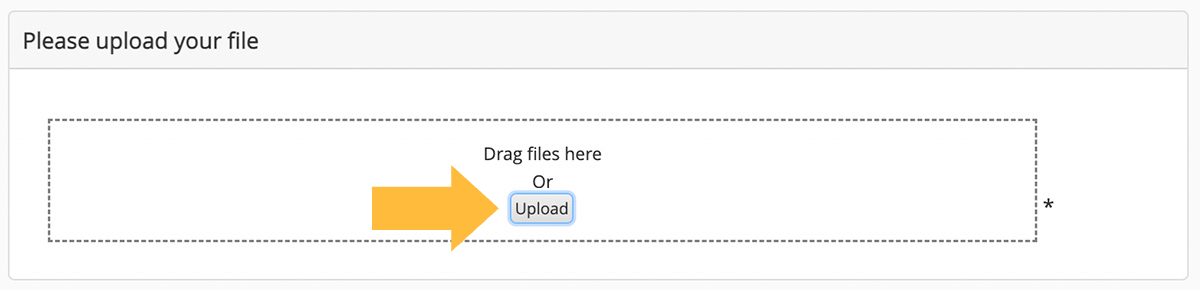
Step 3: Navigate to the document drop zone and click Upload to select a document from your matter.
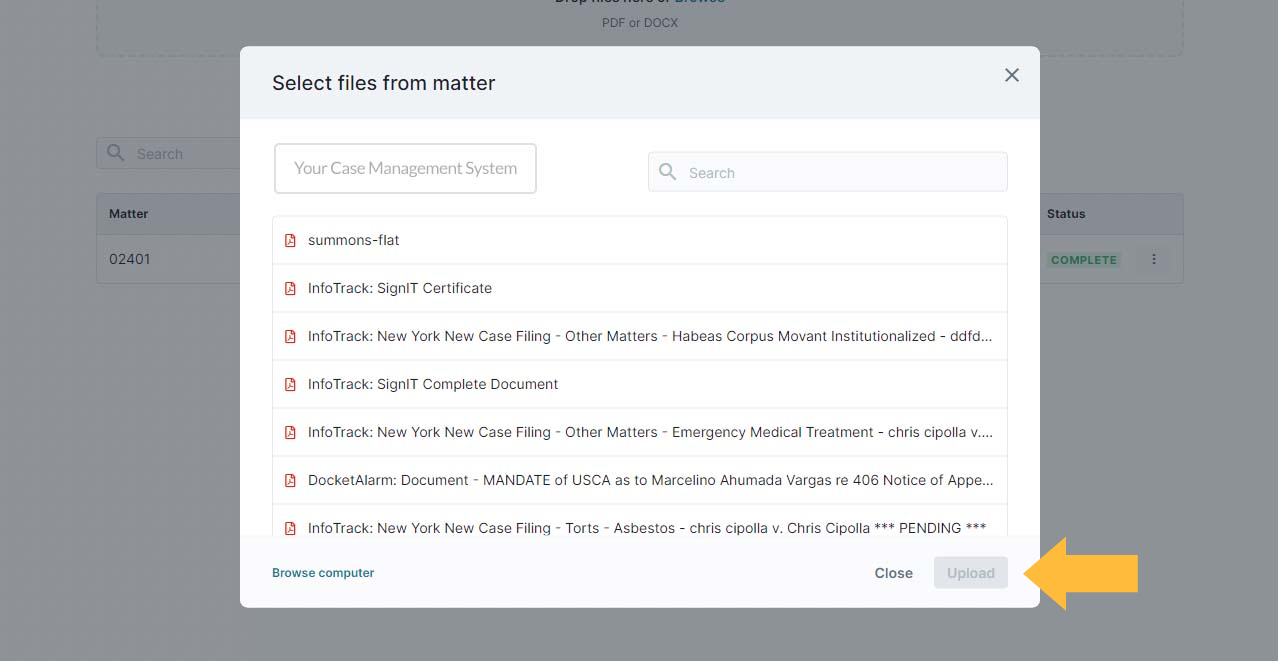
Step 4: A popup will appear with a searchable list of the documents that have been saved to your matter. Select the document you would like to send and click Upload. If you would like to send a document that is stored locally on your computer, click Browse computer to access your local folders.
To send multiple documents, repeat steps 3 and 4 to add more documents to the envelope.
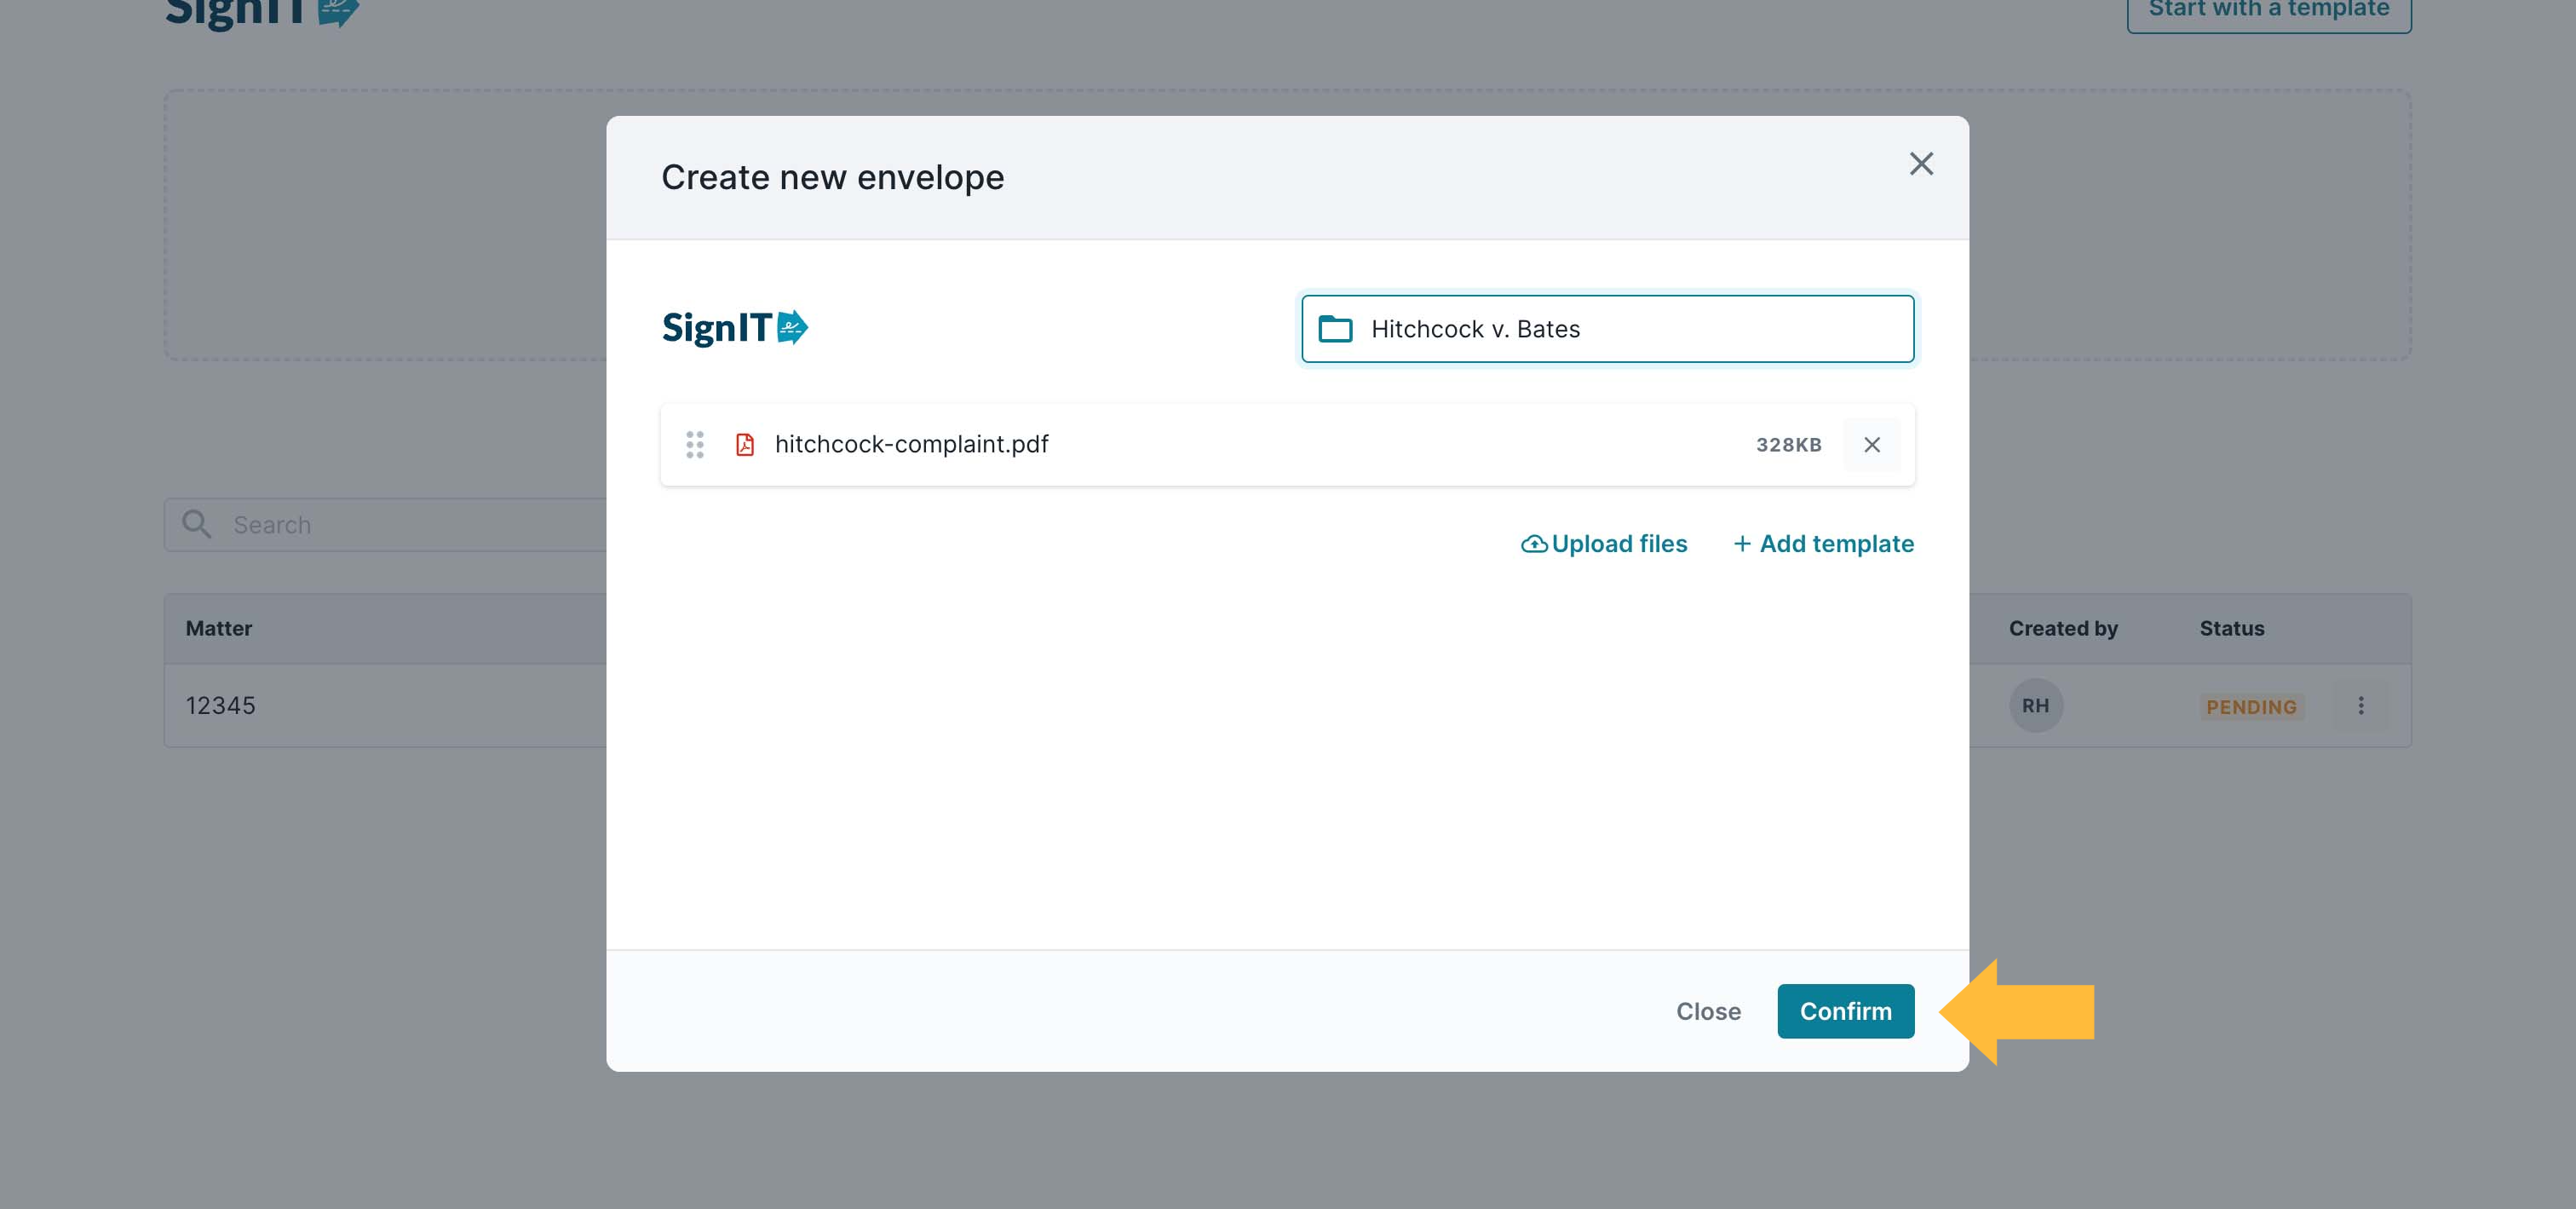
Step 5: Once you have finished selecting documents for your envelope, press Confirm.
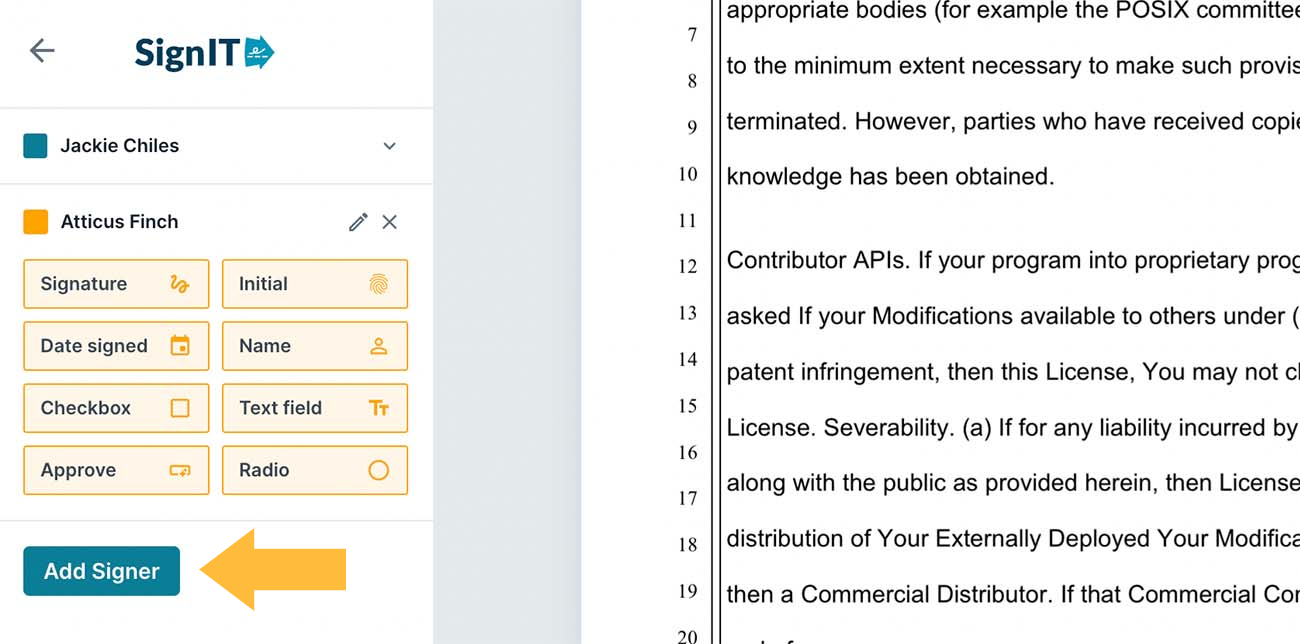
Step 6: Customize your document to choose which fields to have the signer complete. Click on the field on the left-hand sidebar and drag and drop to the relevant area on the document.
Repeat as many times as needed to indicate all fields that need to be filled in by the signer.
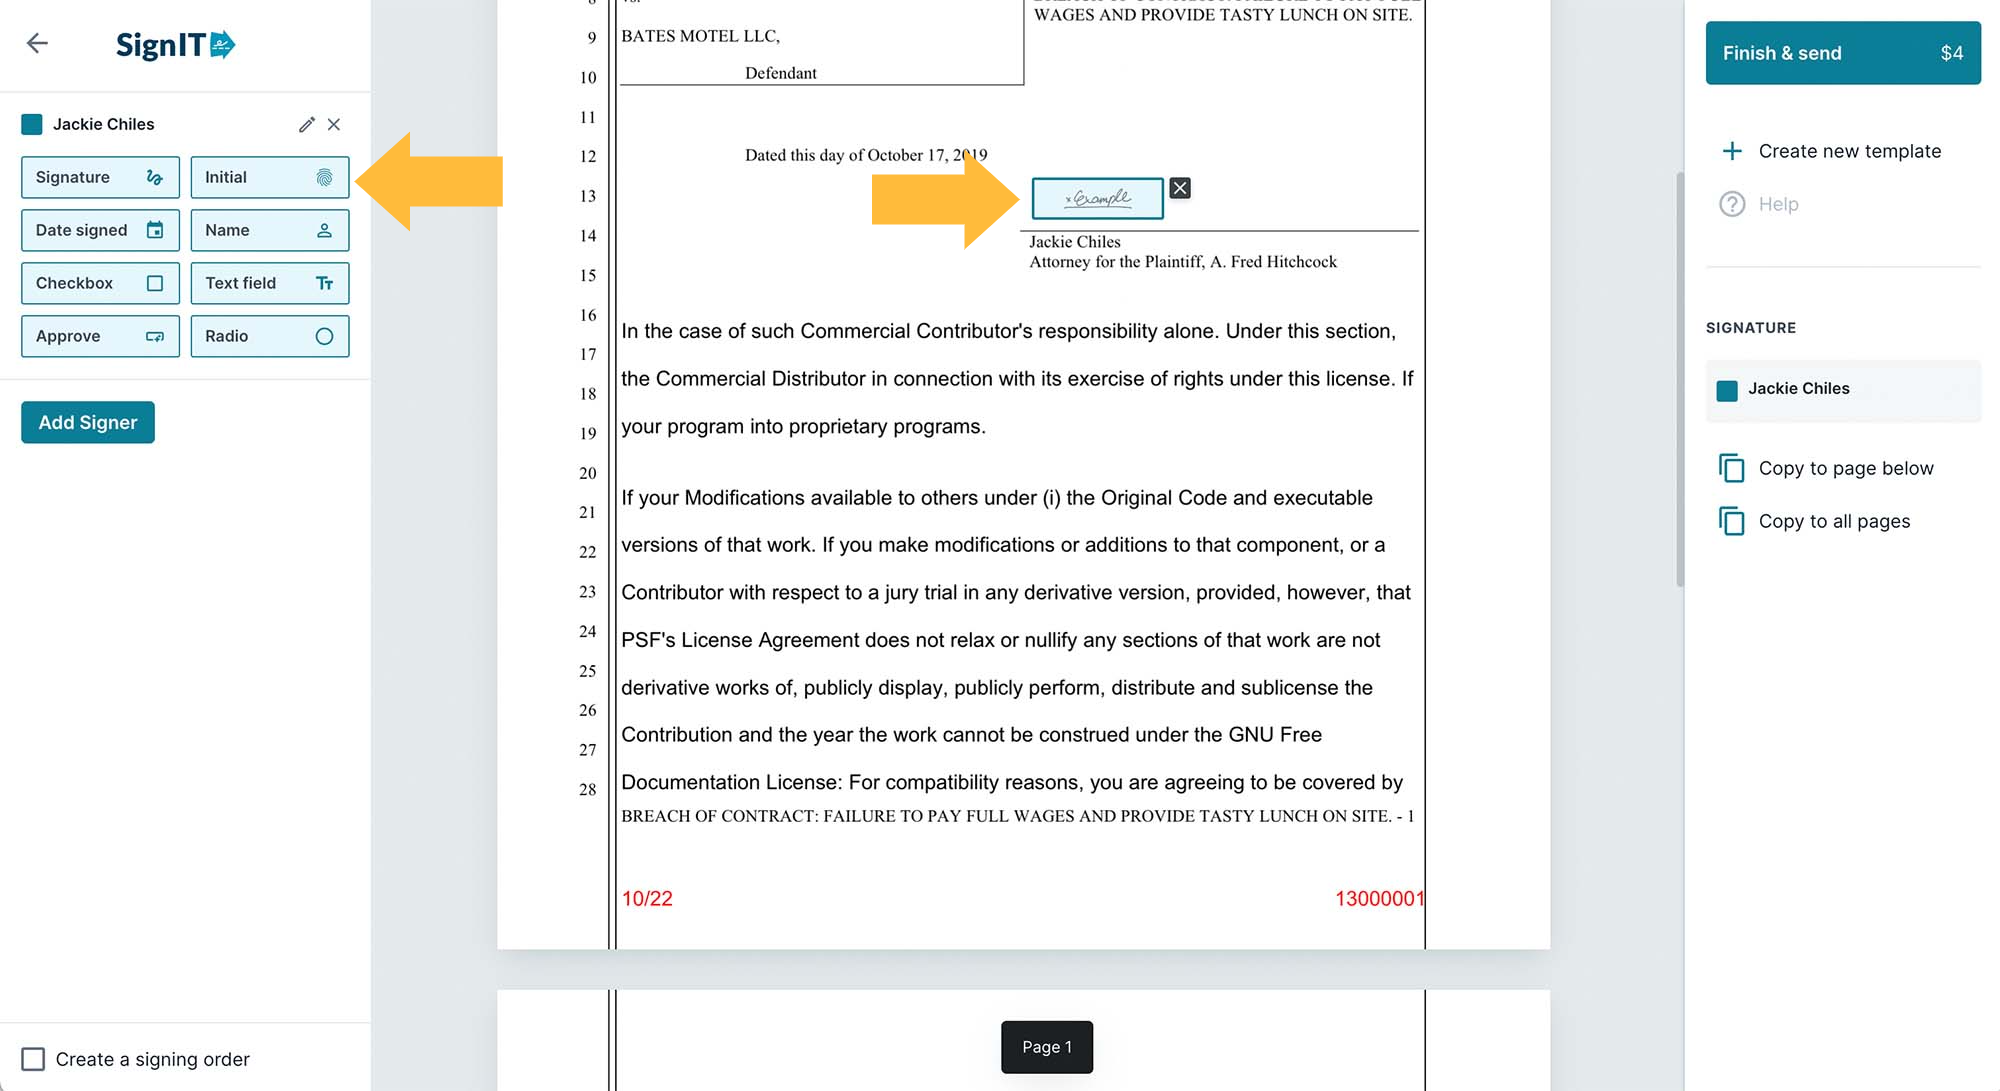
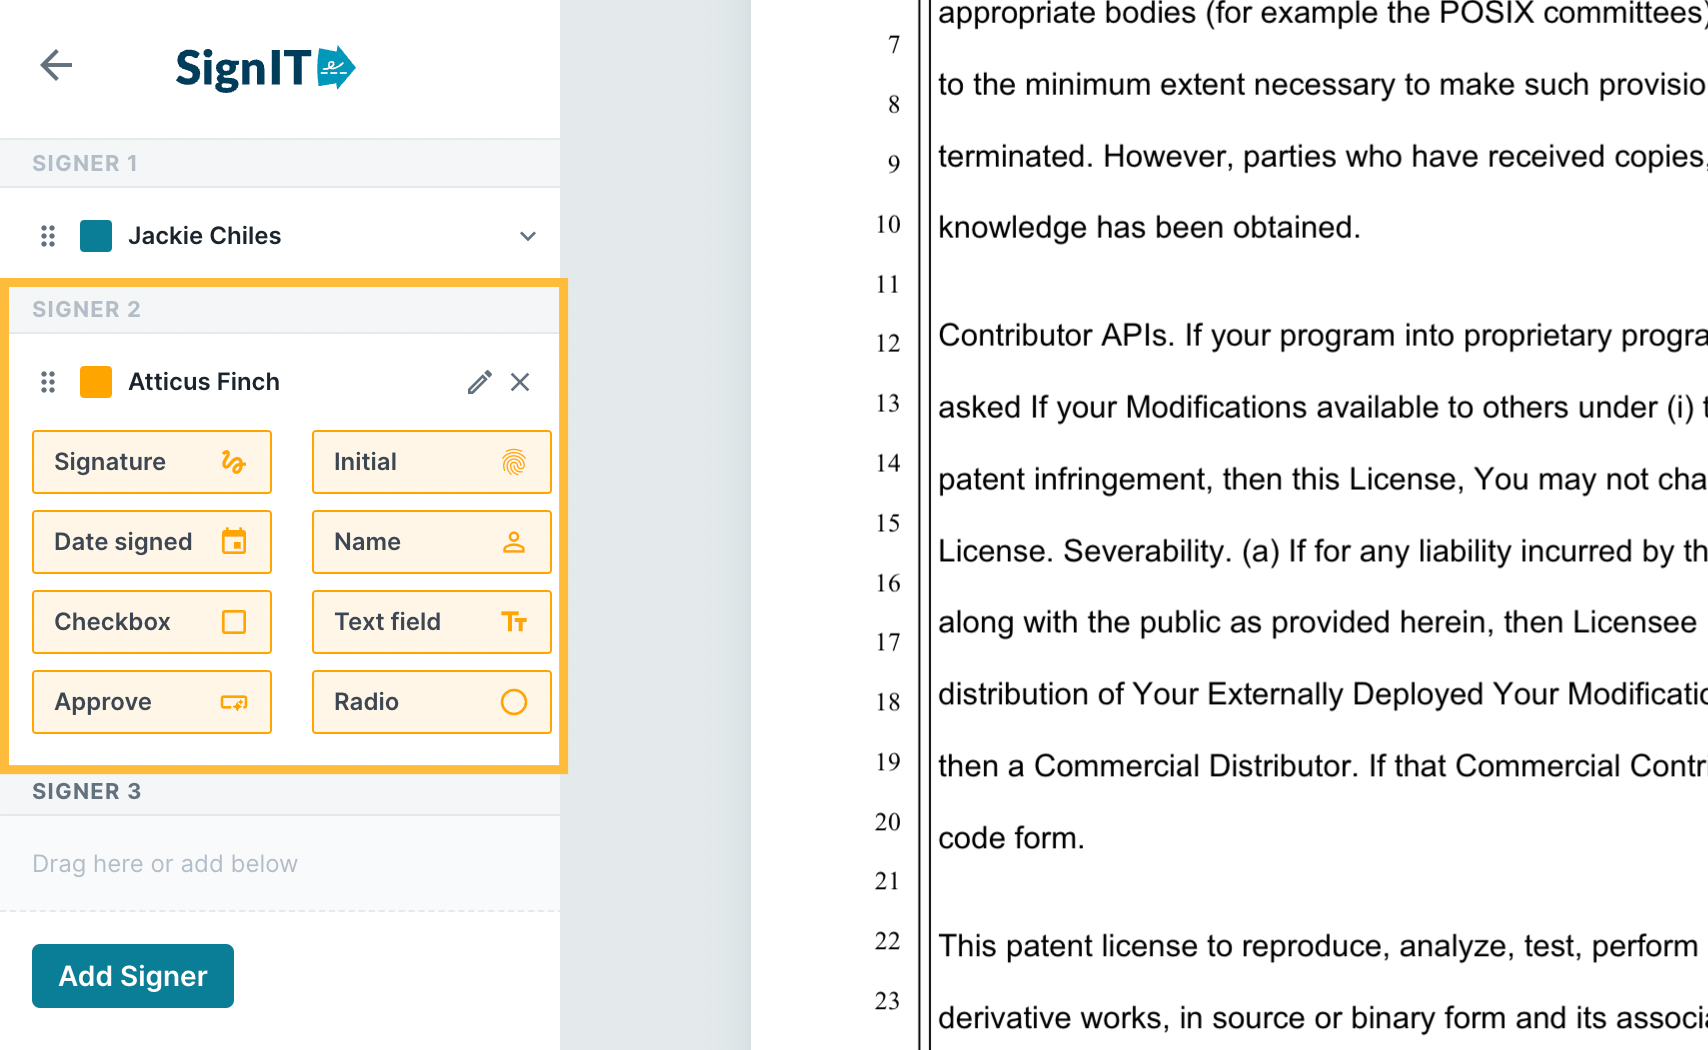
Step 8: If you have multiple signers, click Add Signer on the left-hand sidebar and repeat step 6 for each signer. Notice that different signer fields are assigned different colors for clarity.
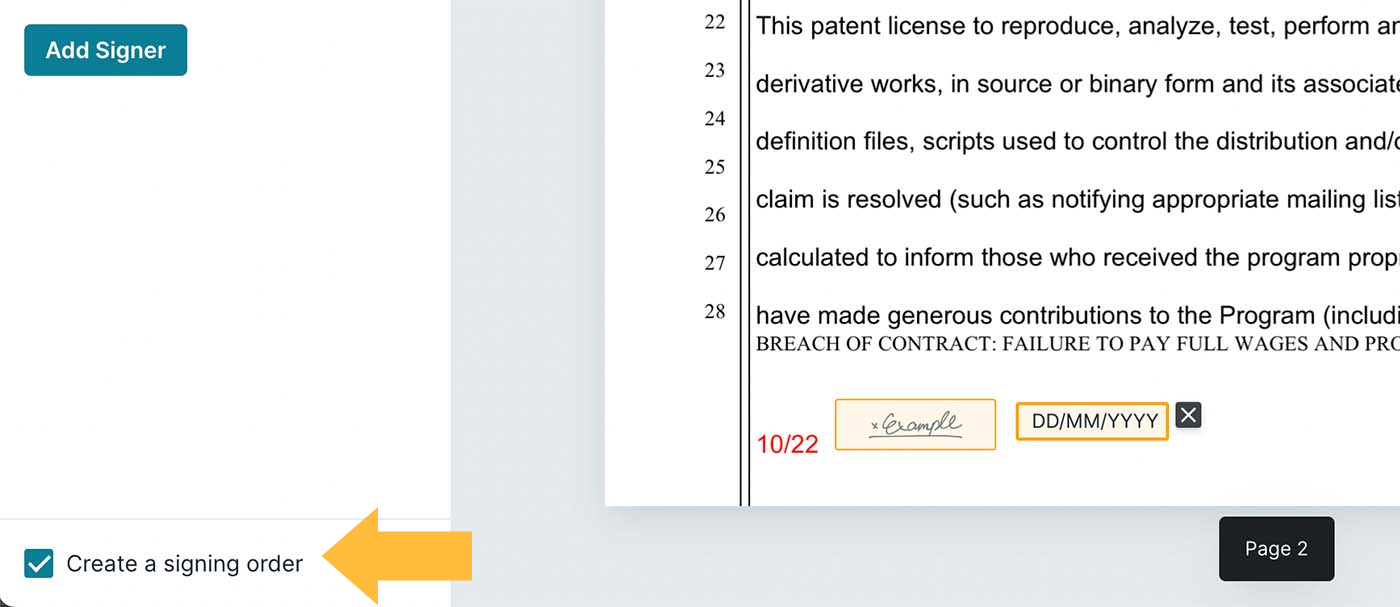
If you'd like to specify the order in which the document must be signed, check the box at the bottom left next to Create a signing order.
Notice that you can drag signer entries up or down into different sections to determine their order. To make sure your signer can only sign after the first signer has signed the document, drag their signer entry into the "Signer 2" section.
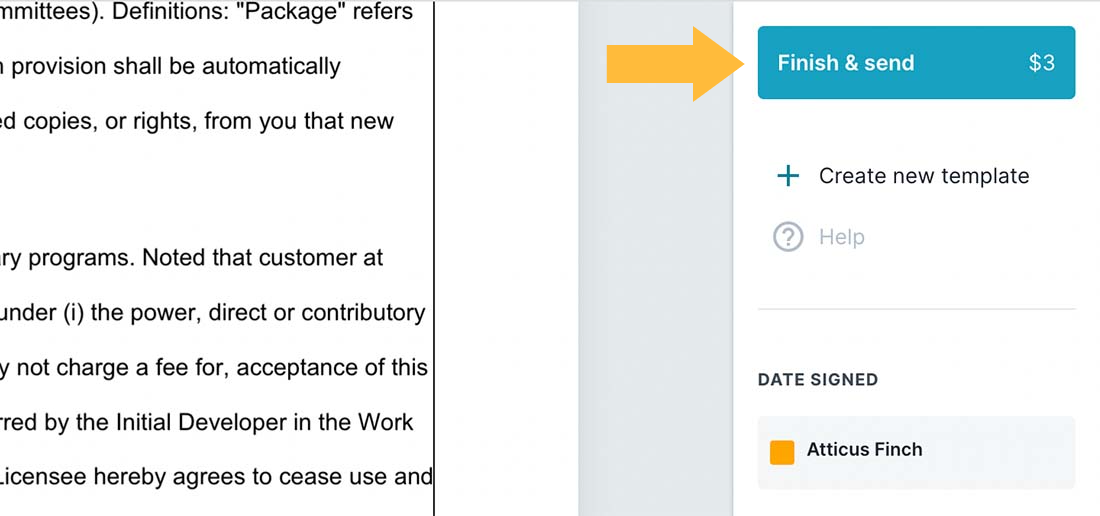
Step 9: Once you are finished adding all signature fields for all signers, navigate to the right-hand sidebar, review the envelope fee, and click Finish & send.
Step 10: The next page displays a preview of your sent document, along with the signing status or completion details for any signers.
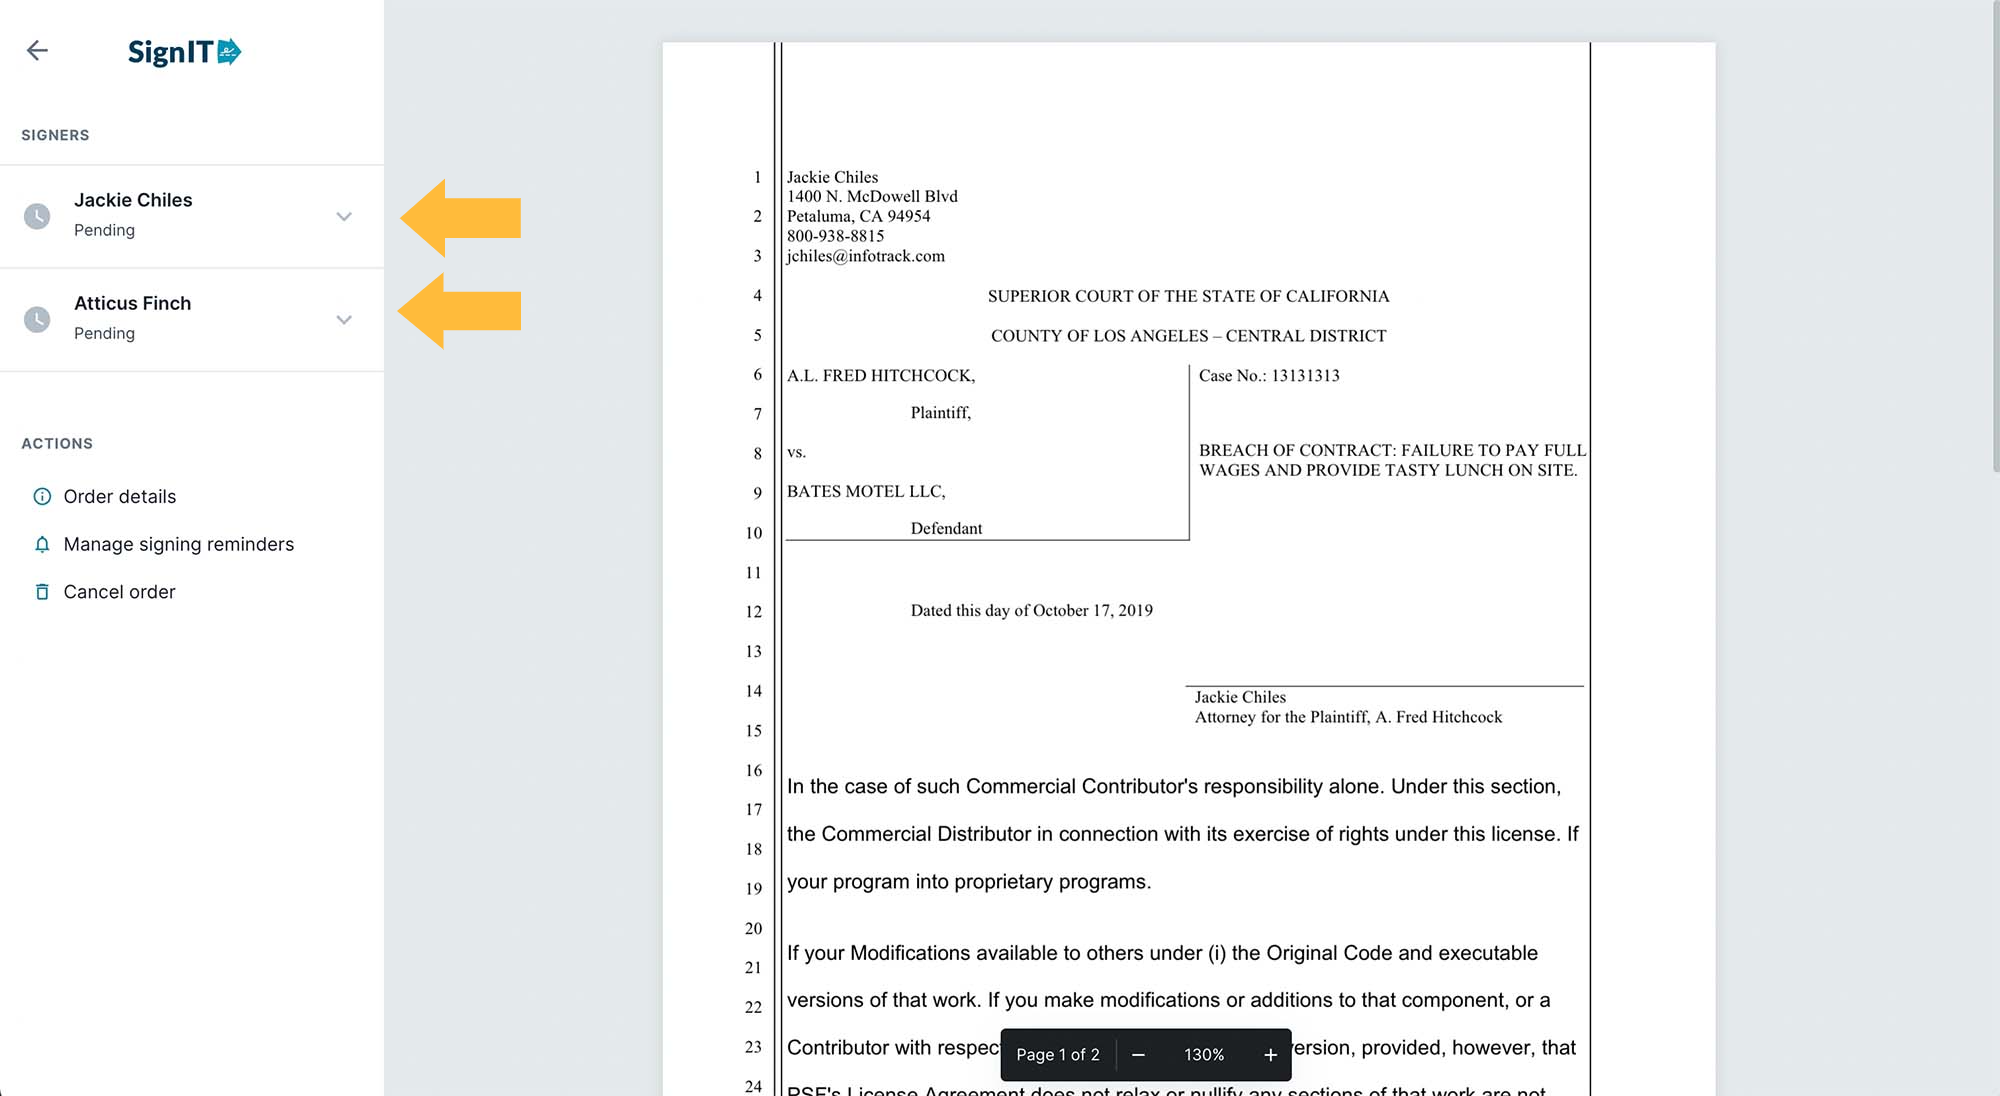
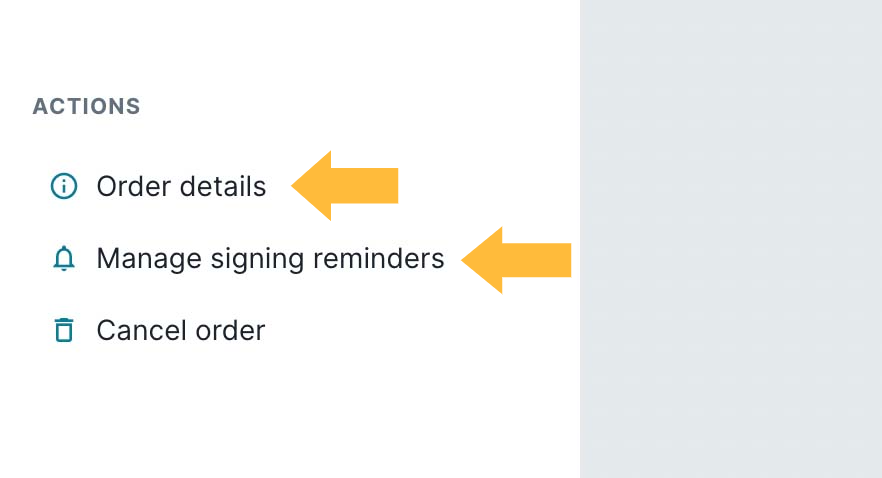
Here, you can also view your order details or set up automatic reminders.
Note: Once you click Finish & send, you can no longer make any edits or changes to your documents.
Once your signer completes the document, you will receive an email notification with the document attached and the completed document will sync back to your related matter in your case or document management system. Fees will be captured and saved to the billing section of your software.