Filing a new case in Florida via InfoTrack has several advantages when compared to filing on the the standard state eFiling portal—particularly if you launch your order from an integrated case management system.
In this article, we'll walk you through how to create your first case initiation.
Before you file: Set up your attorney account(s)
When you click on the InfoTrack eFiling option directly from your case management system, you’ll normally be taken directly into the filing workflow.
However, before you can file in Florida, you’ll need to link at least one attorney account on the Florida Courts E-Filing Portal to your InfoTrack account.
Once your attorney accounts are linked, you'll never have to re-enter attorney details during the filing process.
Launching the filing process
Now, let’s get back to the filing workflow.
Launching a Florida court filing begins just like in any other state. If you are integrated with a case management system, we recommend using the most relevant InfoTrack action button in your matter record to launch the filing workflow. This ensures InfoTrack is connected directly to your matter, which is important for selecting and syncing documents and data.
(If you're not integrated, you can reach the same spot by logging into InfoTrack, selecting Florida from the File & Serve column on the Home screen, and clicking the Create Case button. However, certain automated features discussed below will not be enabled.)
Starting the filing workflow
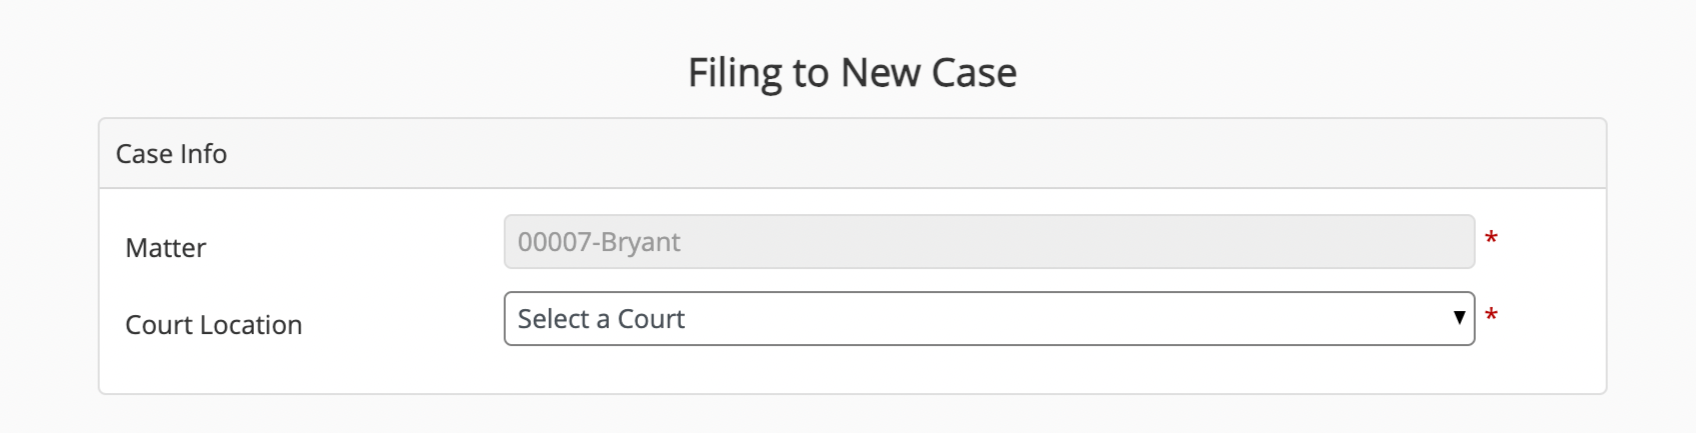
First, you'll be asked to select our court, division and case type, and a few other fields that help categorize the filing. Integrated users will already have the matter name filled in from their case management system.
All InfoTrack drop-down menus have smart search, meaning that if a list is very long, you can just type the first few letters to narrow down your choices.
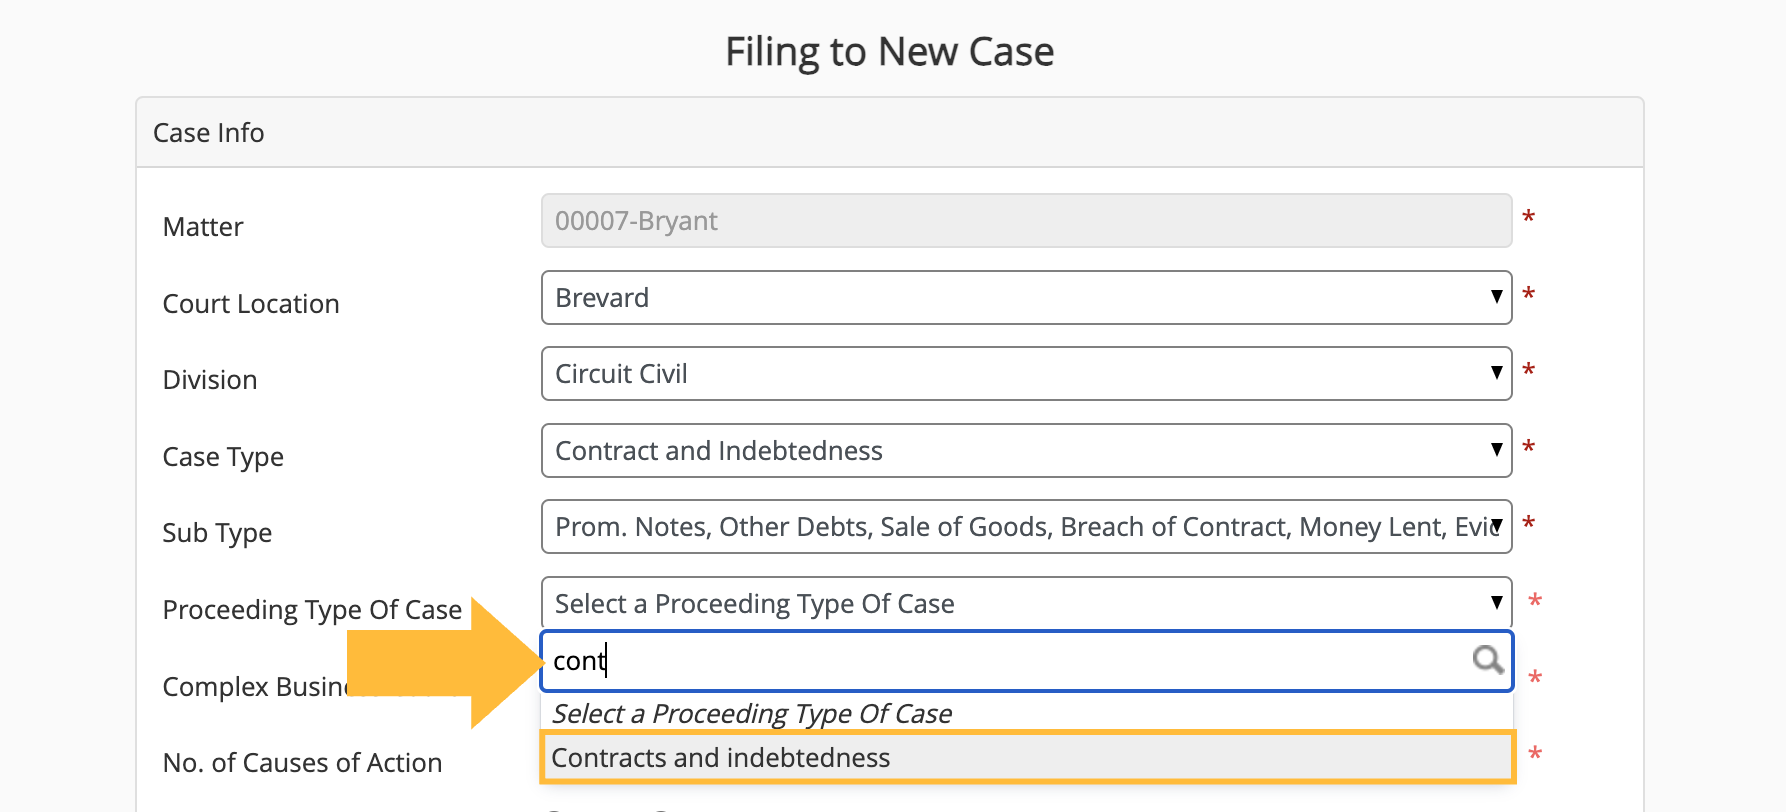
All fields with a red asterisk (*) are required.
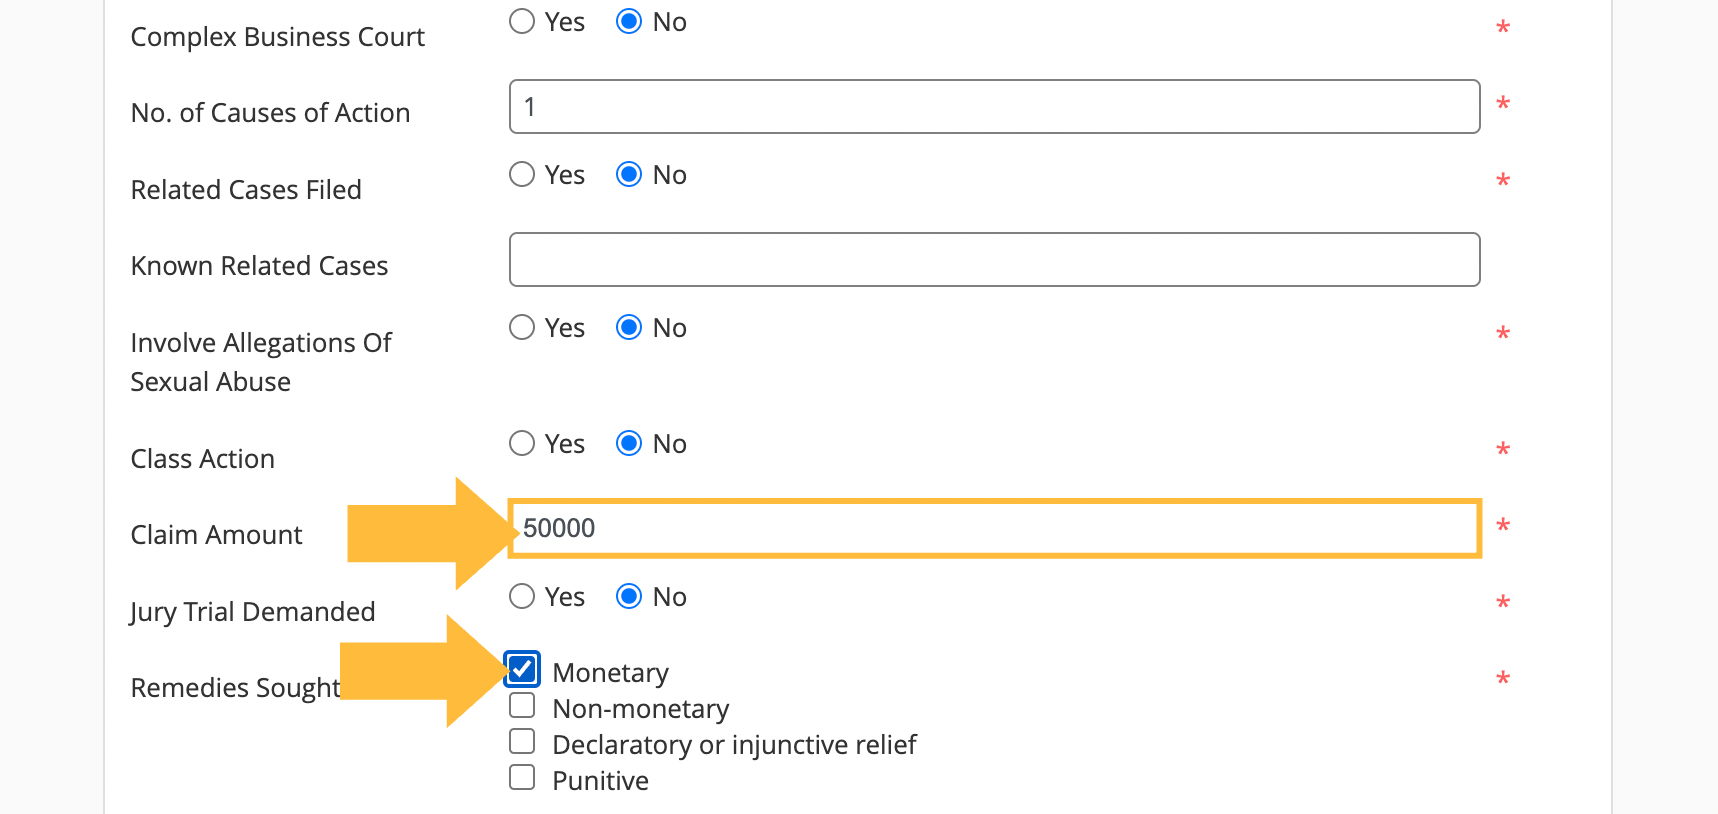
For case types with a claim amount, you’ll need to enter it here and check whether there is a jury demand or any remedies sought.
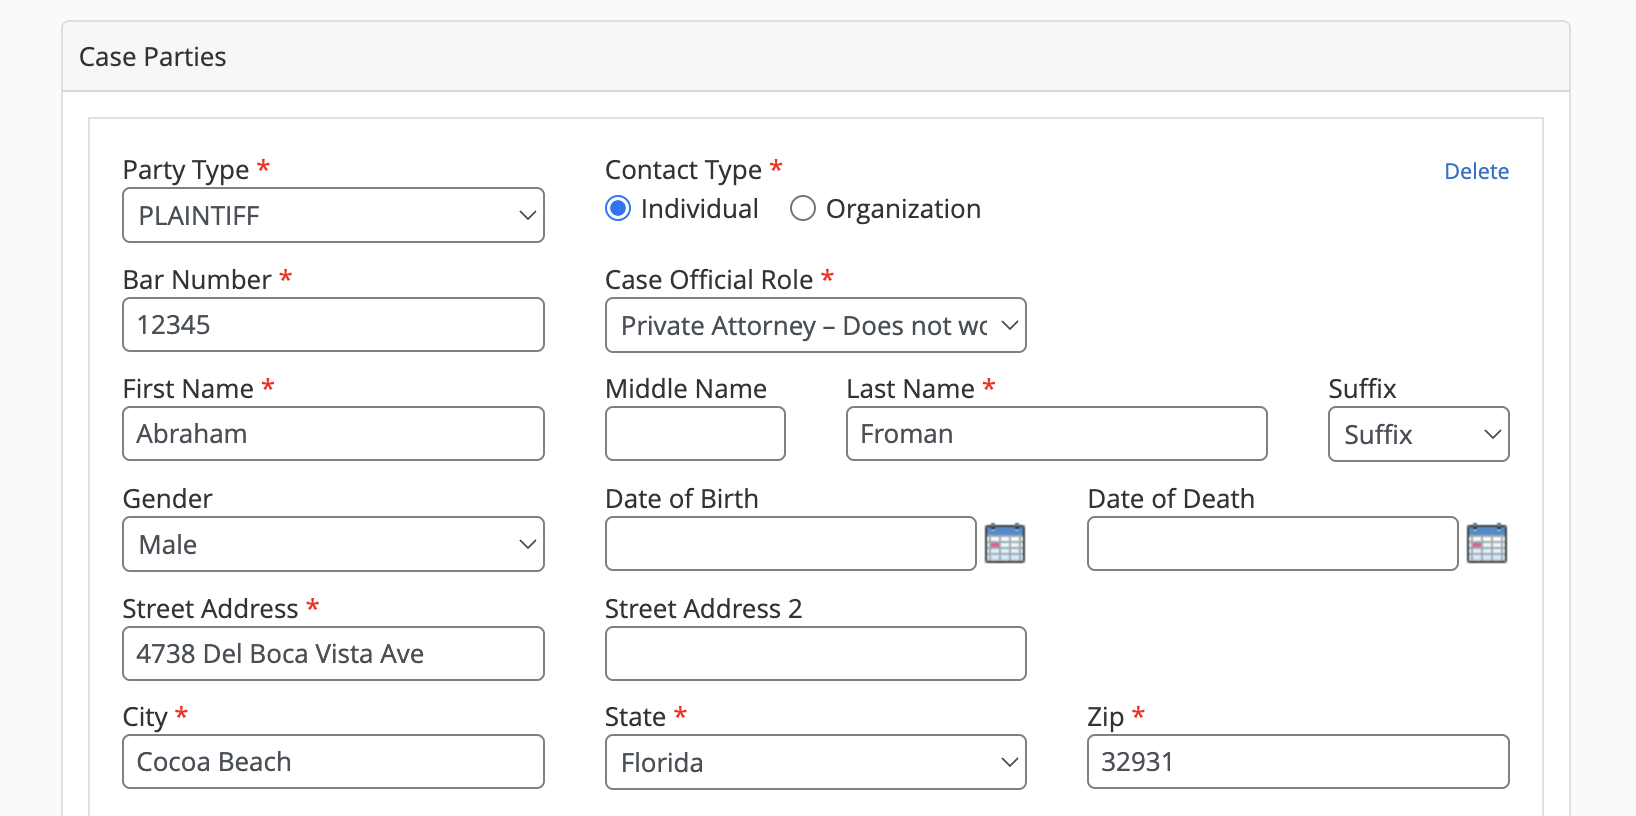
Adding case parties
Some case management integrations (LEAP, Smokeball) allow InfoTrack to pre-populate case party names with information saved to your matter record. If this applies, you'll see these fields already completed.
If not, key in the party information to continue.
Adding documents
After you choose your document type, clicking Upload File will launch a file picker that allows you to pull documents for filing directly out of the matter record in your case management system.
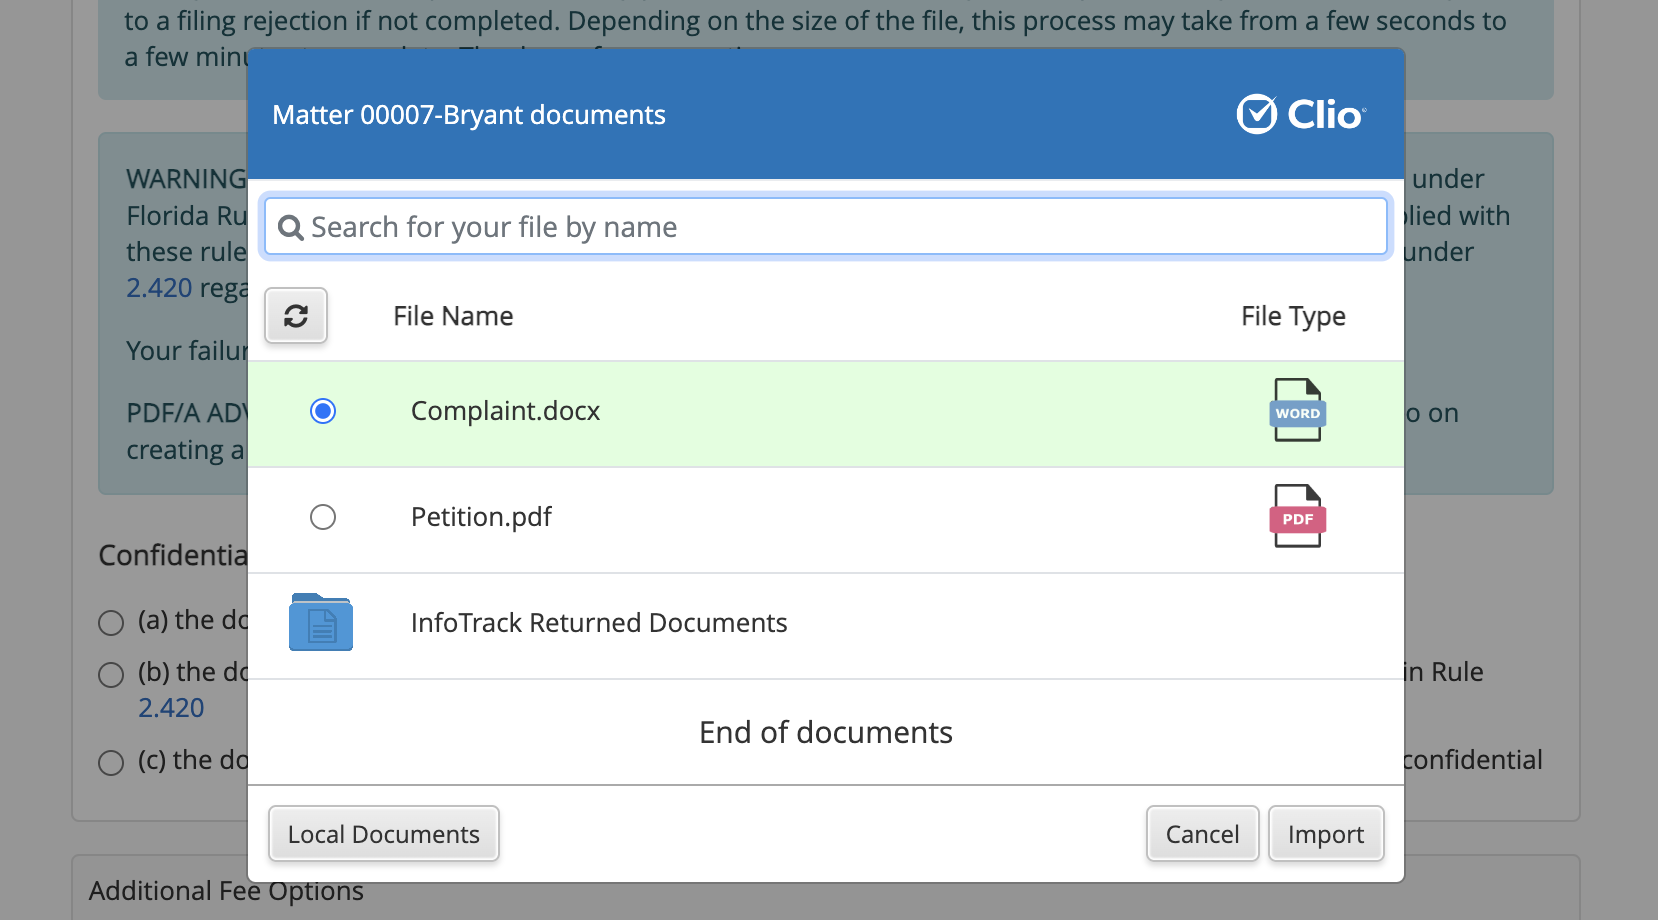
While you may still click Local Documents to choose a document from your computer, selecting documents from your matter record can help keep all your important documents organized in your case management system for clarity.
The document also doesn’t have to be a prepared PDF. If you select a Word document, InfoTrack automatically converts it to the correct PDF format that will be accepted by the court.
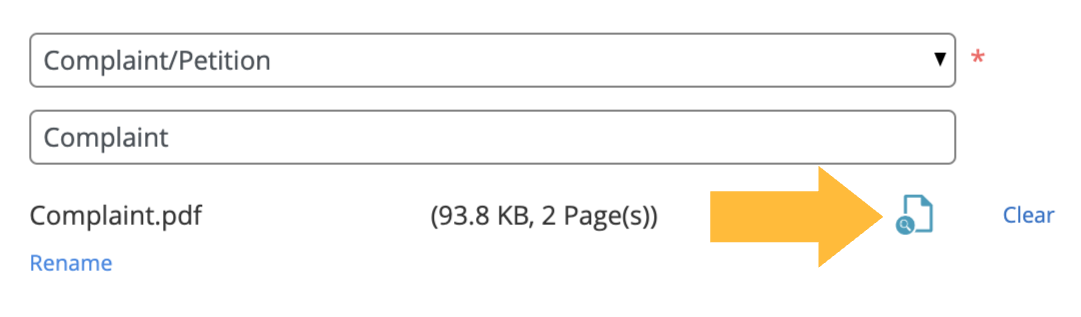
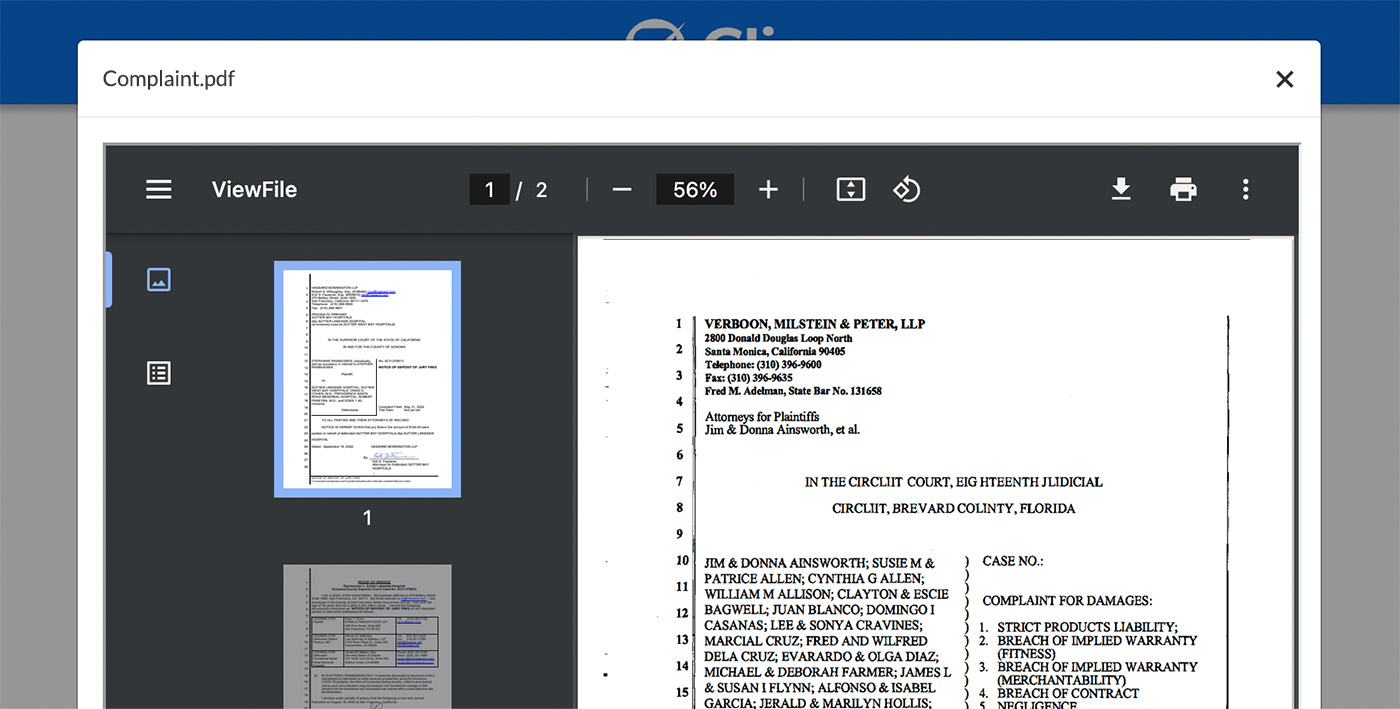
After you've chosen the document, you can click the blue Preview icon to check that it is the correct document.
Once you choose your confidentiality type, and assuming you don’t have any add-on options that require an additional court fee, you can select your filing attorney.

Any attorneys we linked during our account setup will be available here. This means you can select your attorney in two fast clicks, rather than logging in with their credentials each time you file.
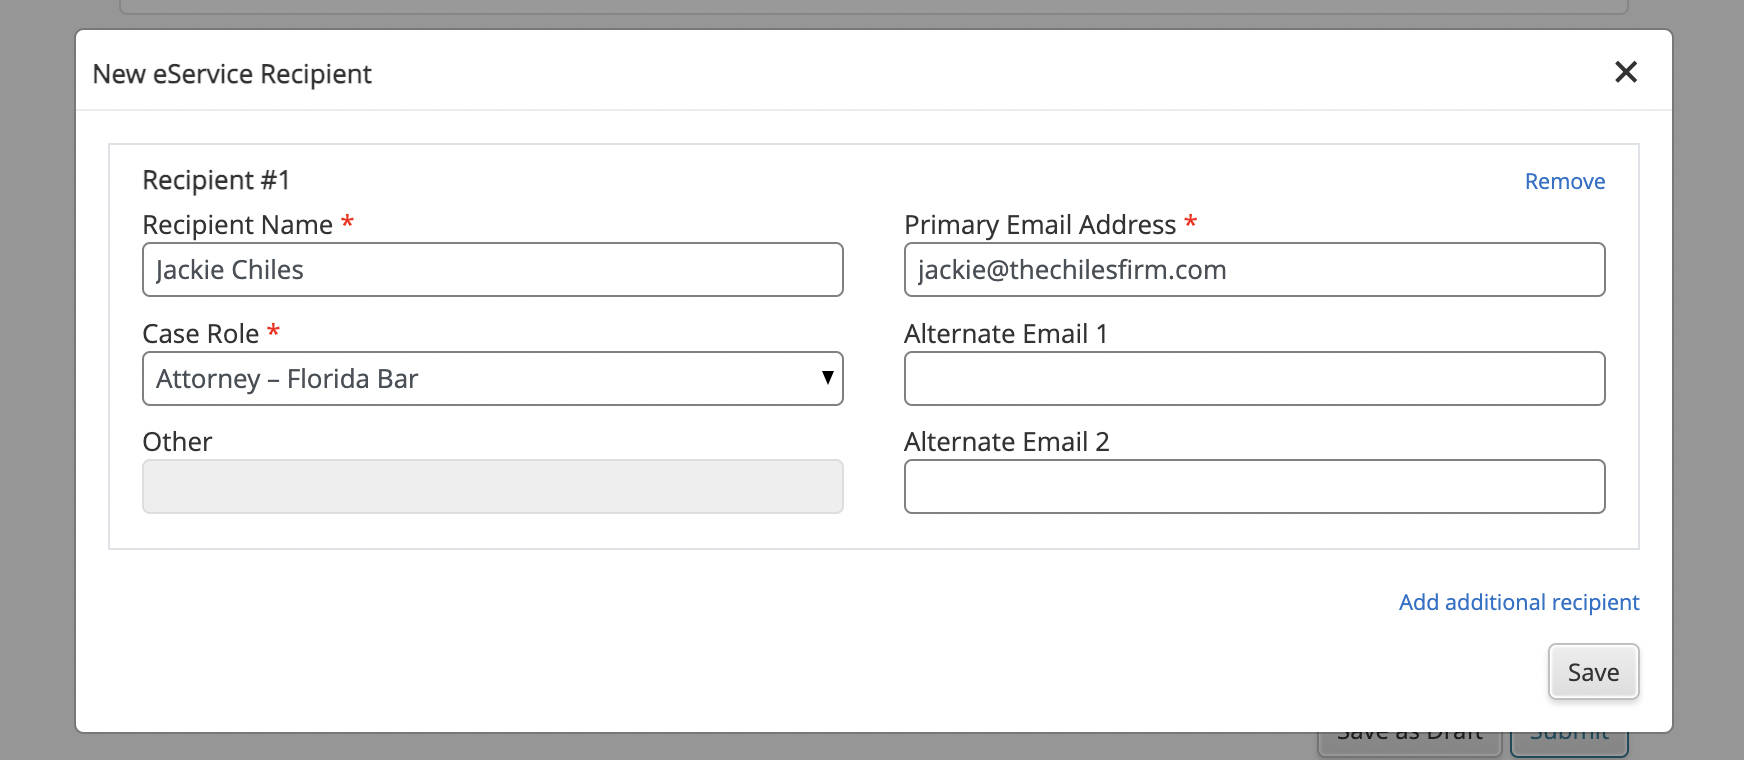
Adding electronic service

InfoTrack is currently the only third-party filing solution for Florida that features full electronic service through the Florida Courts E-Filing Portal. In just a few quick seconds, you can add recipients to the official eService list and make sure they get notified of your filing.
Submitting your filing
Before you click Submit, take a moment to review the estimated fees at the bottom of the page.

The top fee—boxed in orange in the image above— summarizes any fees charged by the court.
All InfoTrack fees are listed under Total Provider Service Fees. Because InfoTrack does not charge for eService, only the flat fee per envelope applies here.
After your filing is complete
When you submit your filing, InfoTrack takes care of all the court's filing fees up-front. You'll be presented with an order confirmation page with key details about your filing, and receive an invoice for the court fees and InfoTrack's service fee with the next billing cycle.
You can also retrieve all of this order information—or information about any order made in InfoTrack, including process serving, electronic signatures, docket information, and more—by clicking back to the Orders screen.
As soon as the court stamps the document(s) you submitted, they will sync back to the matter record in your integrated case management system.