Once you have connected your InfoTrack and Neos accounts, you can begin placing orders that will update in your Neos case.
Launching your order
Log into InfoTrack using the credentials you created when signing up as described in this article.
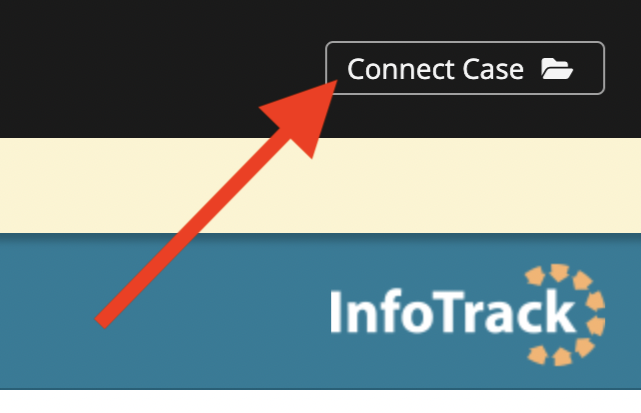
The InfoTrack home screen will appear with a black Assembly Neos banner across the top. At the top right, you should see a Connect Case button.
Click the button and select your case.
Note: If the button says Connect to Neos instead, follow the instructions in this article.
Placing your order
From the InfoTrack home screen, select your order type using the on-screen buttons. (If you are filing in a state court, select the state from the File & Serve menu on the left.)
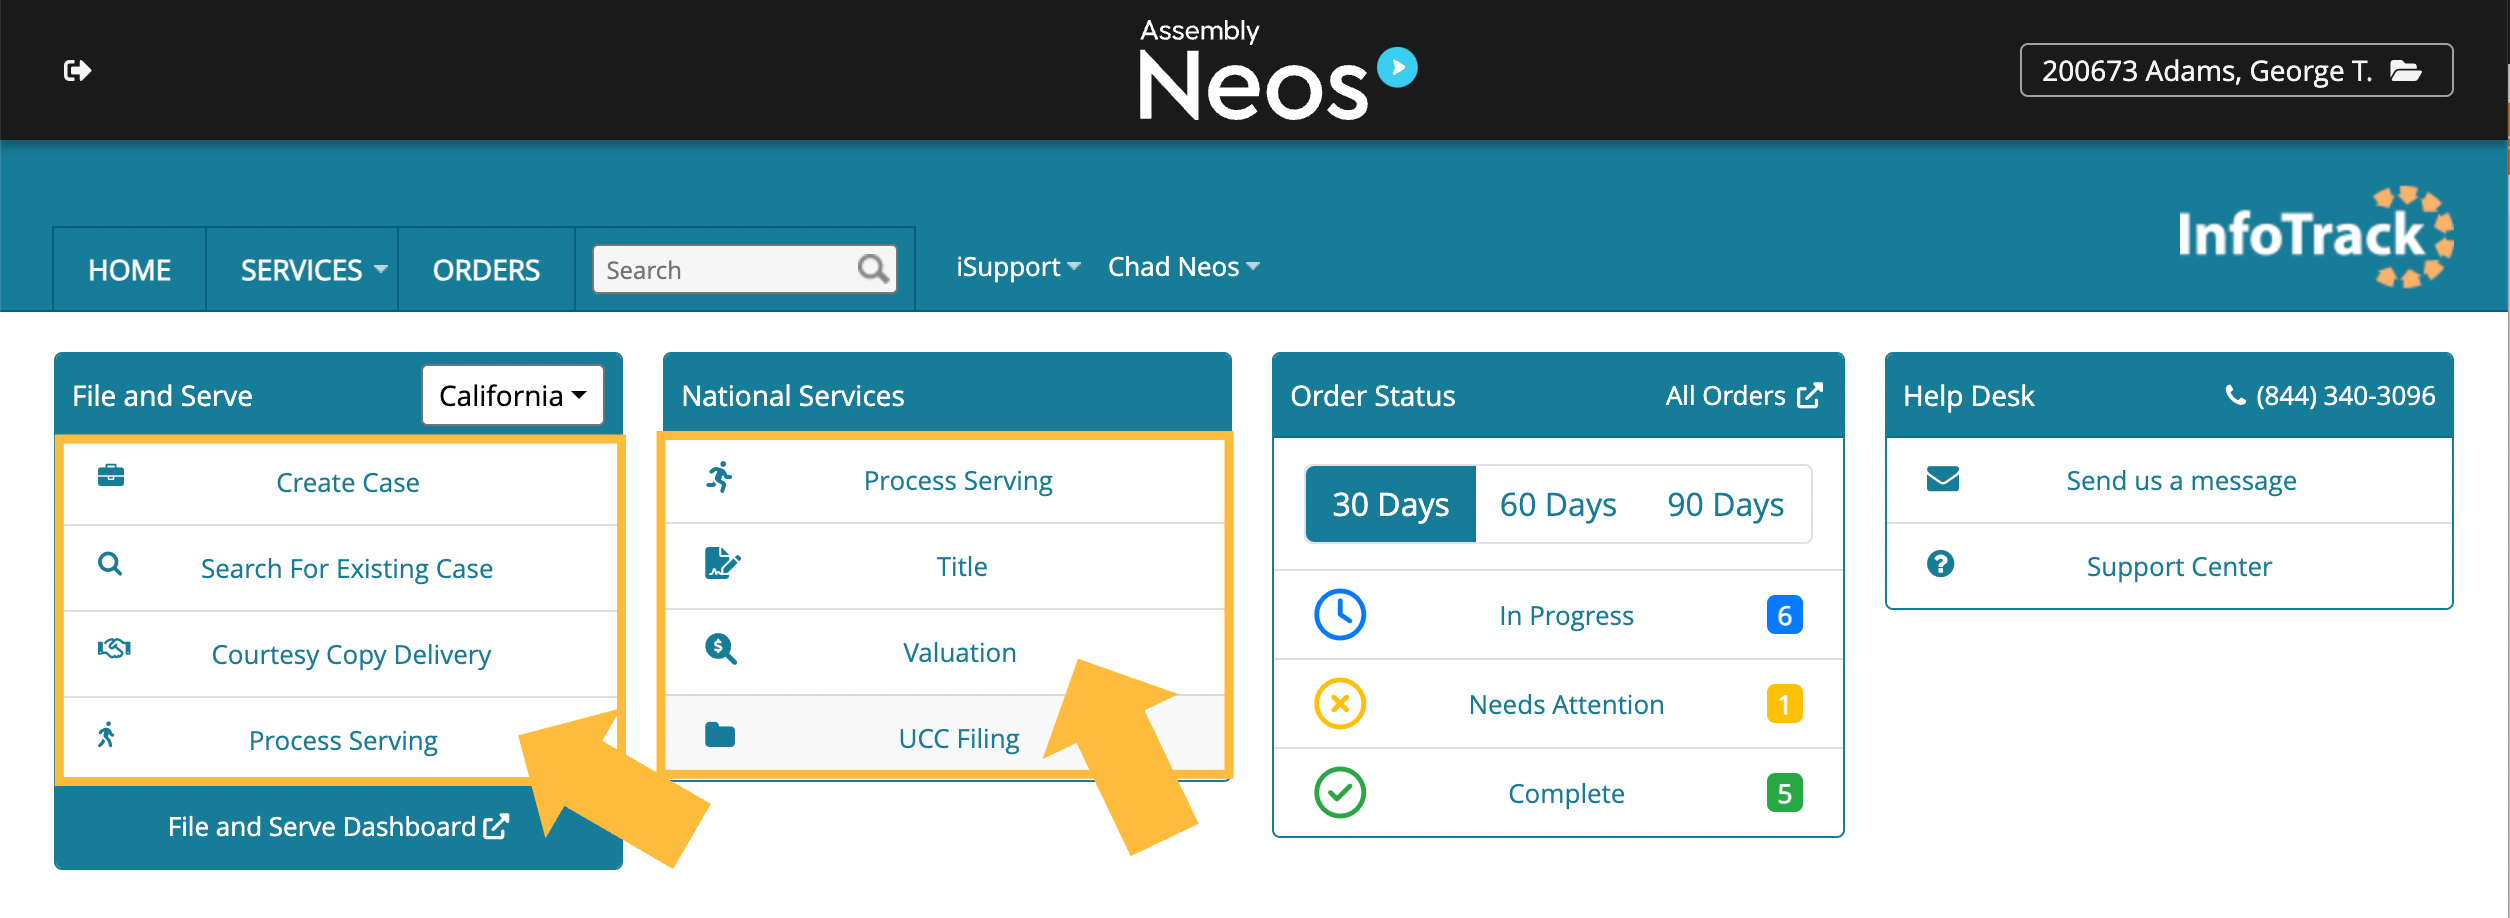
Complete the required information and submit your order. Note that documents can be chosen directly from your linked MyCase case.
Available services
- eFiling
- Physical court filing
- Electronic service
- Service of process
- DocketSync
- Electronic signatures
- FastFiling (Cook and DuPage Counties, Illinois)
Accessing returned documents
All documents produced in any InfoTrack order—including court-returned documents, electronically signed documents and served documents—are saved in a folder called InfoTrack Returned Documents within the linked Neos case record. You can find this folder by navigating to the Case Docs tab of the relevant case in your Neos account.
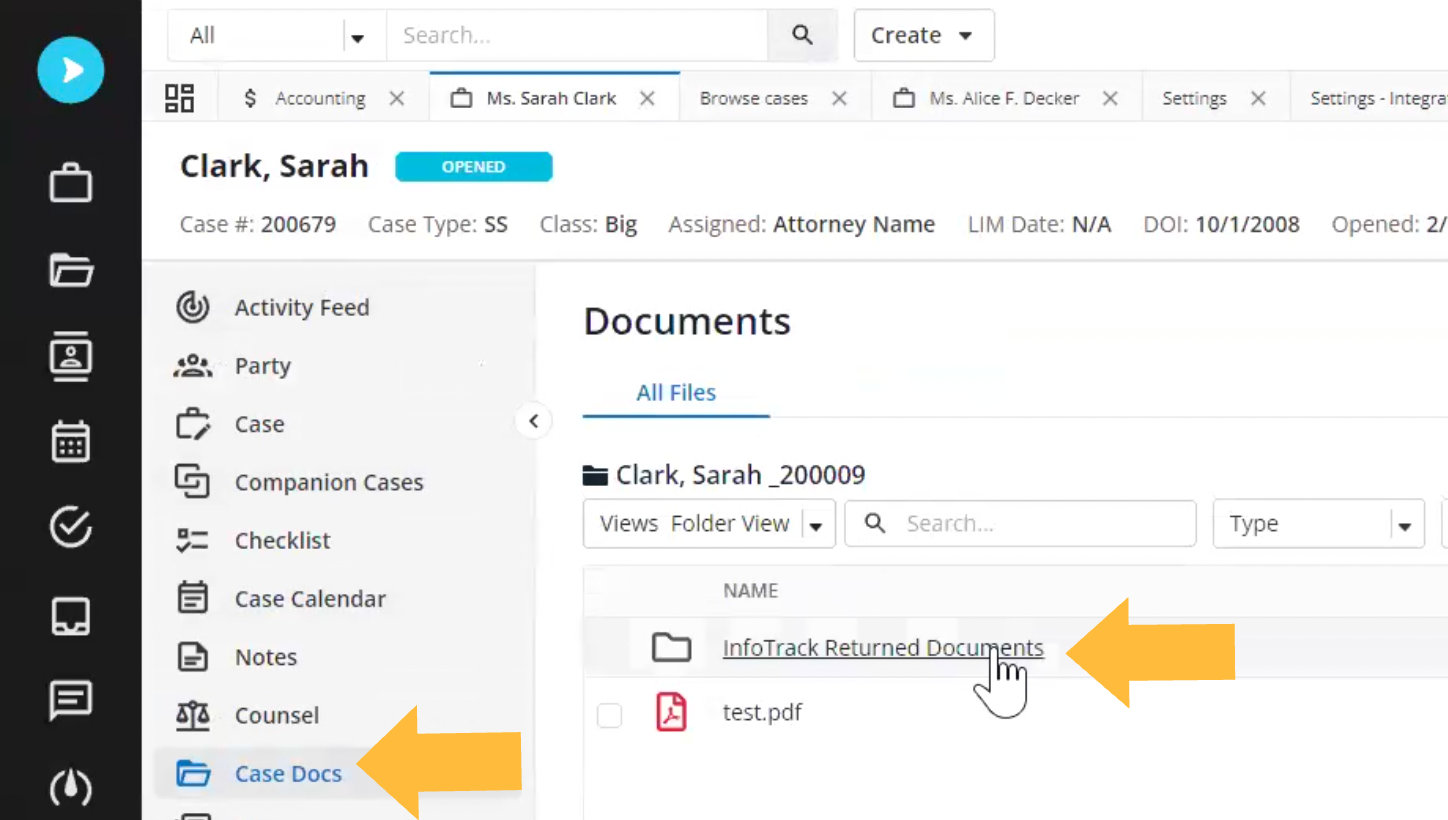
Open the folder to view the documents from the court. (If you are filing in California, there may be a subfolder inside for financial documents returned from the court.)
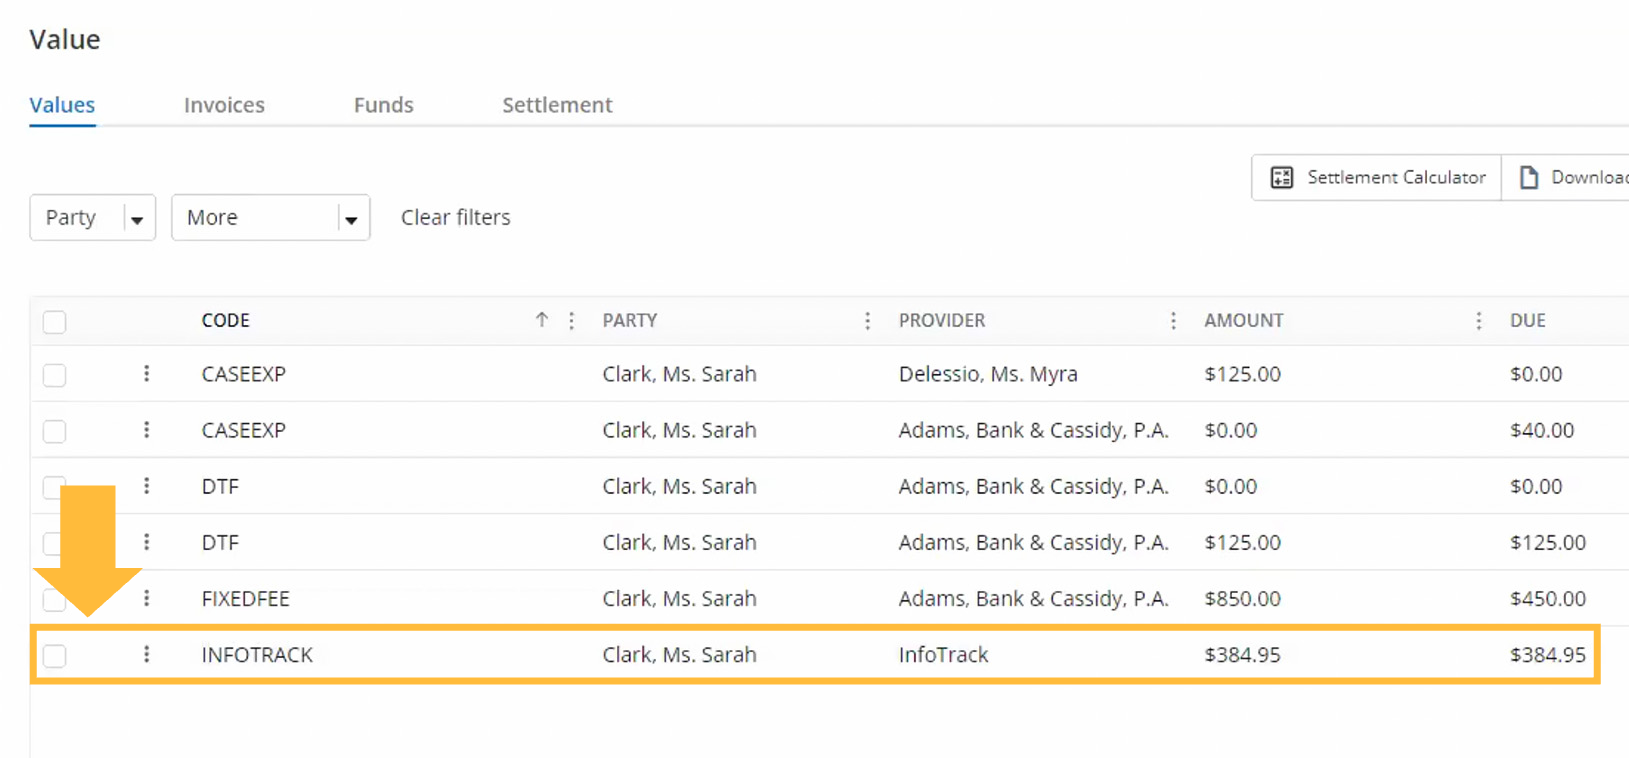
Expense tracking
Court fees and filing charges are automatically saved to the Value tab in the relevant case in Neos.
A line item is created for each expense, auto-generating for the case, the order, and the filing. The filing will contain the cost that you can pass through to your clients.